As already seen, VBA is a very effective tool that can be used to automate almost everything that we would usually need multiple manual steps to cover in Excel.
It can also be used to search for any specific value or any type in our workbook. In the example below, we will show the code that we can use to find the date in a certain column.
Find the Date in the Column with VBA
For our example, we will use the list of random dates, as per the picture below:
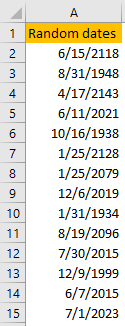
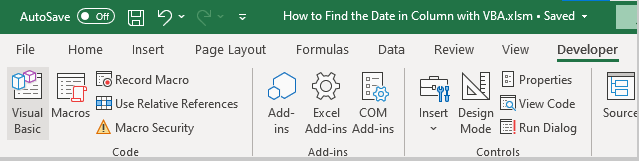
Now, this list is only 15 rows long for convenience’s sake. To insert our code, we need to open Visual Basic. We do that by either clicking the ALT + F11 or by going to the Developer tab and then clicking on Visual Basic:
Once there, we will right-click in the left window and go to Insert >> Module:

When we click on it, we will insert the following code in the window presented:
|
1 2 3 4 5 6 7 8 9 10 11 12 13 14 |
Sub FindTheDate() 'declaring the variables Dim FoundCell As Range Dim insert As String 'setting the variables insert = Application.InputBox(Prompt:="Insert a desired Date in mm/dd/yyyy format", Type:=2) Set FoundCell = Range("A1:A100").Find(what:=insert, LookIn:=xlFormulas) 'If formula If FoundCell Is Nothing Then MsgBox ("Check the inserted date. No Date found") Else MsgBox ("Your Date Is found in cell " & FoundCell.Address) End If End Sub |
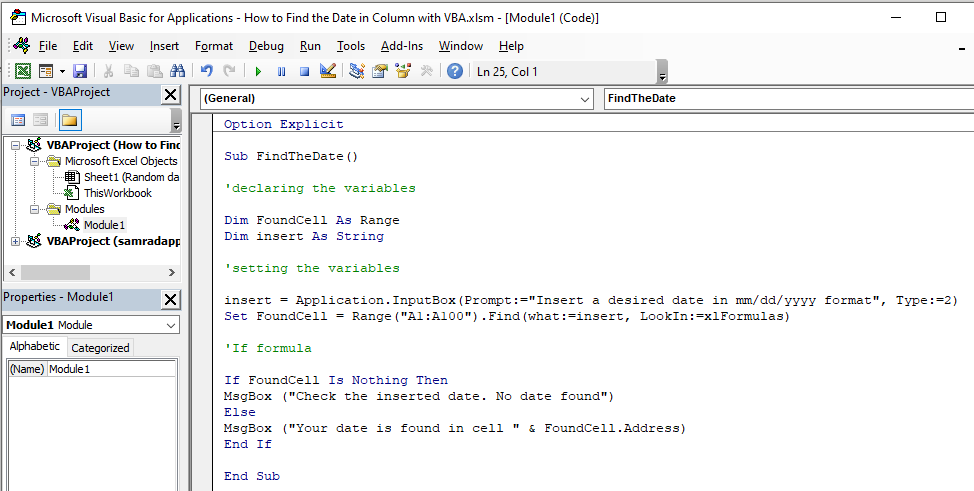
This is what our code looks like in the module itself:
As seen, the first part of the code is simply used to declare the variables (we will only use two):
|
1 2 |
Dim FoundCell As Range Dim insert As String |
For the next thing, we will set our variables to certain values:
|
1 2 |
insert = Application.InputBox(Prompt:="Insert a desired date in mm/dd/yyyy format", Type:=2) Set FoundCell = Range("A1:A100").Find(what:=insert, LookIn:=xlFormulas) |
For the insert variable, we will ask our users to insert a date that they are searching for in the mm/dd/yyyy format. Our FoundCell variable will find the value that the user inserted in the range A1:A100.
Now we go to the final part:
|
1 2 3 4 5 |
If FoundCell Is Nothing Then MsgBox ("Check the inserted date. No Date found") Else MsgBox ("Your Date Is found in cell " & FoundCell.Address) End If |
We use the If formula to show the message „No date found“ if there is no set date in our range, or we show in which cell is the desired date found.
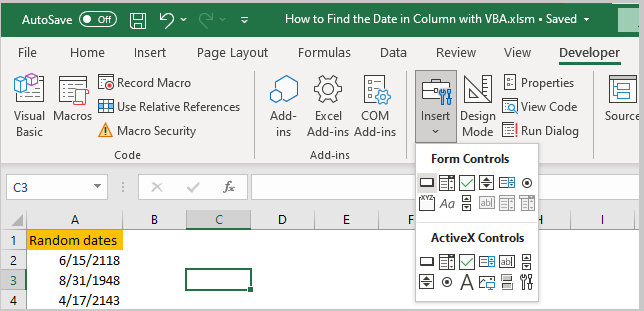
We will now put our code in the worksheet itself. To do this, we will go to Developer >> Controls >> Insert >> Button (first option available):
When we click on it, we will need to mark the location of our button, and then we will be shown the window on which we will choose our code:
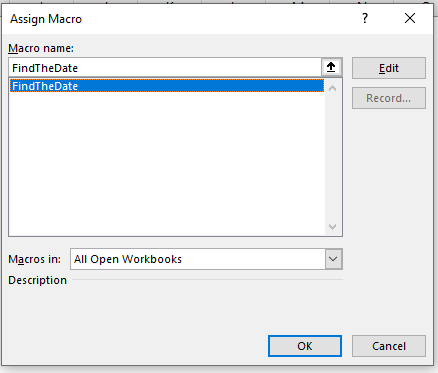
We will click OK, and we will have the following button:
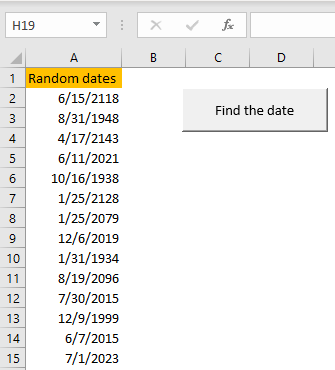
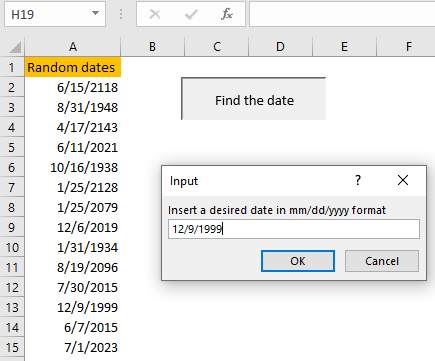
We will rename the button to „Find the date“. When we click on it, the user will be asked to insert the date:

We will search for a date 12/9/1999:
We know this date is located in cell A13, so we hope we will get these results. We will click OK, and will have the message show this:
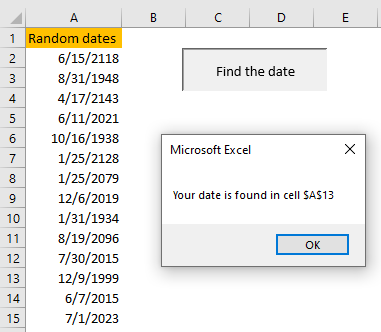
The user will get the correct message. Now, if we insert a date that is non-existent in our range, we will have the other predefined message.
For example, let us say that the user is searching for the 1/1/2022 date.
As this date does not exist in our range, this is the message he would get:
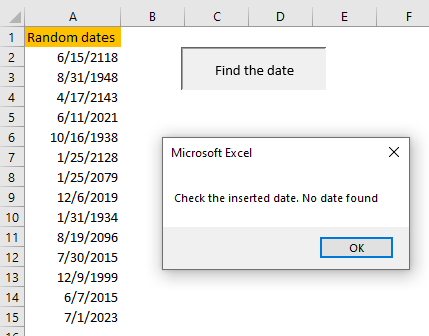
Which is exactly what we defined. Of course, we can change the scope of our search (not only to refer to range A1:A100 but to expand it or decrease it). We can also change the messages that users can see. It is up to you to decide what you want to use.