You can format date and time in many different ways. Look at the following example to learn how to do it.
Example 1:
Put the following date inside a cell: February 14, 2014 18:15:00. Right-click the cell, and then select Format Cells….
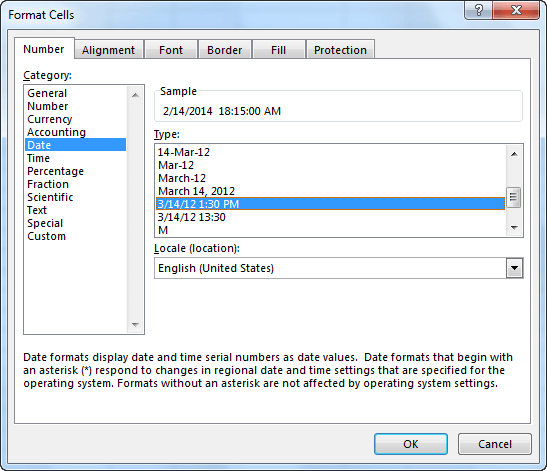
In the Format Cells window, the Number tab consists of four parts: Category, Sample, Type and Locale (location).
Click the Date position inside the Category box. On the right side, inside the Type box, different types of date and time formatting options will be displayed. Click one of them and then in the Sample box you will see the preview of the currently selected date, with the new formatting applied.
Create your own date and time formats
There is a large number of combinations when it comes to date and time formatting, but sometimes you won’t find any that meets your expectations. In such situations, Excel will let you create your own format that you can use later when working in Excel.
Example 2:
Click the cell again and then open the Format Cells window. Choose the Custom item, which is located at the bottom, in the Category field.
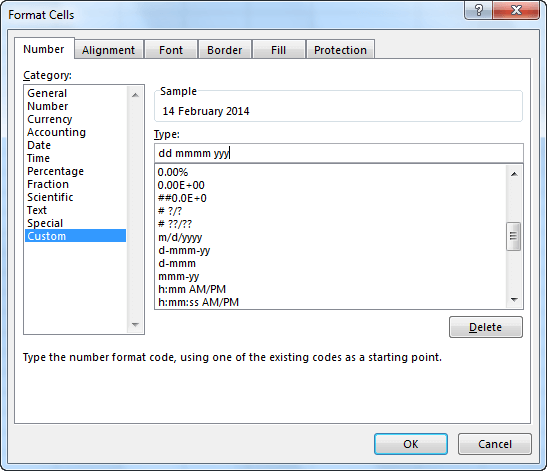
You can format date and time by using many different combinations. In the table below, you can see which letters correspond to which type of formatting.
For Date:
| RESULT | FORMAT |
| Years: 00-99 | y |
| Years: 1900-9999 | yyy |
| Months: 1-12 | m |
| Months: 01-12 | mm |
| Months: Jan-Dec | mmm |
| Months: January-December | mmmm |
| Months: F-D | mmmmm |
| Days: 1-31 | d |
| Days: 01-31 | dd |
| Days: Mon-Sun | ddd |
| Days: Monday-Sunday | dddd |
For Time:
| RESULT | FORMAT |
| Hours: 0-23 | h |
| Hours: 00-23 | hh |
| Minutes: 0-59 | m |
| Minutes: 00-59 | mm |
| Seconds: 0-59 | s |
| Seconds: 00-59 | ss |
| Time: 10 AM | h AM/PM |
| Time: 10:36 AM | h:mm AM/PM |
| Time: 10:36:24 A | h:mm:ss A/P |
| Time: 10:36:24.75 AM | h:mm:ss.00 |