Sometimes you may want to print only specific columns in your Excel worksheet. This tutorial shows you two methods of how to print Excel columns.
How to Print Excel Columns
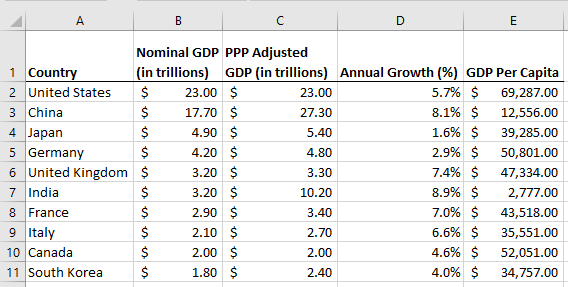
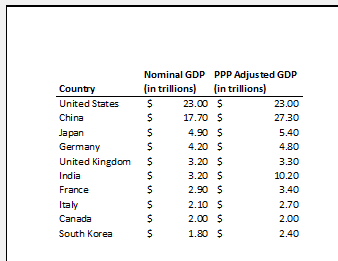
We will use the dataset below in our illustration:
Method 1: Set the Print Area Then Print
We give an example of printing only columns A, B, and C from the dataset.
We use the steps below:
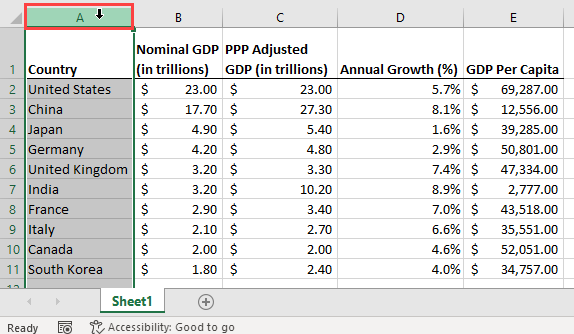
- Select column A by clicking its letter header.
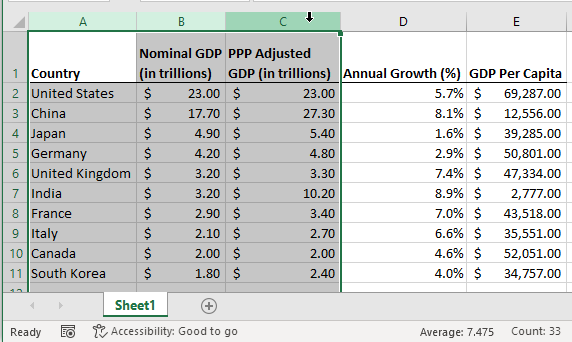
- Press and hold down the Shift key, and click the letter header of column C.
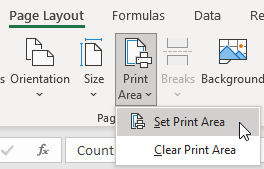
- Click Page Layout >> Page Setup >> Set Print Area.
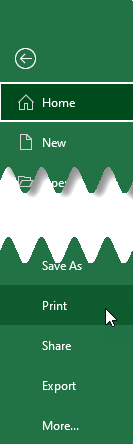
- Click the File tab and choose Print on the sidebar.
- In the Print window that appears on the right, click the Show Print Preview button to print preview the printout.

The print preview appears on the right of the window:
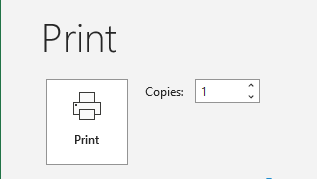
- Set the print options in the Print window such as the number of copies to print.
- Click the Print button to send the work to the printer.
The printer outputs only the selected columns.
When you save the workbook, the print area is also saved. When you re-open the workbook, the print area will still be set.
Note: If you want to print non-adjacent columns, first select the starting column, press and hold down the Ctrl key, then select the other columns. Set the Print Area as explained previously then print. Each column will be printed separately.
Method 2: Select the Columns Then Print Selection
We use the following steps:
- Select columns A, B, and C as explained in Method 1.
- Click the File tab and then click the Print option on the sidebar.
- In the Print window that appears on the right, open the first drop-down list in the Settings section, and then choose Print Selection.
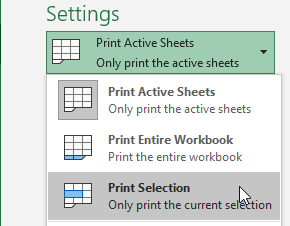
The Print Preview adjusts to show only the selected columns.

- Set the print options in the Print window such as the number of copies to print.
- Click the Print button to send the work to the printer.
The printer outputs only the selected columns.
Conclusion
In this tutorial, we looked at two methods of printing Excel columns. In the first method, we first set the print area and then print. In the second method, we first select the columns to print and then print.