The are several steps you have to take in order to convert XLSX to CSV in Powershell, but before you do that, create your Excel file and save it.
Saving a file
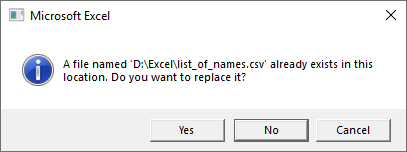
I’m going to use a list of a few names and ages saved as the XLSX file. What you need to remember is that the file should only have one worksheet, otherwise the function will display information on whether to override the first sheet with the second one.
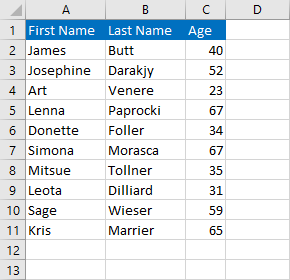
I saved it in the following location:
|
1 |
D:\Excel\list_of_names.xlsx |
Open the Powershell window
After you open the Powershell window, copy this code and insert it with the right mouse click.
|
1 2 3 4 5 6 7 8 9 10 11 12 13 14 |
Function ExcelToCsv ($File) { $myDir = "D:\Excel" $excelFile = "$myDir\" + $File + ".xlsx" $Excel = New-Object -ComObject Excel.Application $wb = $Excel.Workbooks.Open($excelFile) foreach ($ws in $wb.Worksheets) { $ws.SaveAs("$myDir\" + $File + ".csv", 6) } $Excel.Quit() } $FileName = "list_of_names" ExcelToCsv -File $FileName |
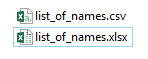
It’s going to create a new csv file.
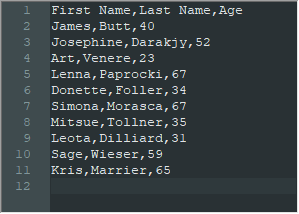
If you open a CSV file in a text editor, for example, notepad++, you are going to have words separated by commas.
Function Explanation
Here, we set the directory and file location.
|
1 2 |
$myDir = "D:\Excel" $excelFile = "$myDir\" + $File + ".xlsx" |
This code creates a COM object to use Excel features.
|
1 |
$Excel = New-Object -ComObject Excel.Application |
|
1 |
$wb = $Excel.Workbooks.Open($excelFile) |
The next part is the foreach loop that saves each sheet as a file. If you have multiple sheets inside a worksheet it will as you whether you want to override.
SaveAs uses 6 as a second parameter. You need to add it, so the file will be saved as a text form, and the application will not try to save formatting.
|
1 |
$ws.SaveAs("$myDir\" + $File + ".csv", 6) |
If you try to save formatting, you would get a bunch of rubbish if you open the file inside a text editor.
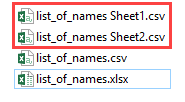
Convert multiple sheets into multiple files
At the beginning of this lesson, I wrote that you should have only one sheet inside the workbook. We can easily modify the code, to handle a workbook with multiple sheets.
Replace this code:
|
1 |
$ws.SaveAs("$myDir\" + $File + ".csv", 6) |
And paste this code:
|
1 |
$ws.SaveAs("$myDir\" + $File + " " + $ws.name + ".csv", 6) |
Now, run the code, and the function will create a new file for each worksheet.