Excel tables make it easier to analyze and manage data. Borders can make them stand out, appealing, and more readable.
In this tutorial, we look at how to apply or remove a table border in Excel.
How to Apply Table Border in Excel
In this tutorial, we show you three techniques for applying a border to an Excel table.
Method 1: Use the Borders Drop-down List on the Home Tab
Suppose we have the following table showing some products and their prices.
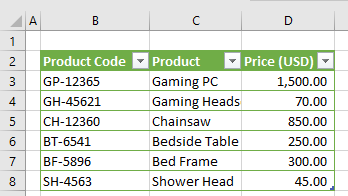
We want to apply a thick outline border to the table using the Borders drop-down list on the Home tab.
We proceed as follows:
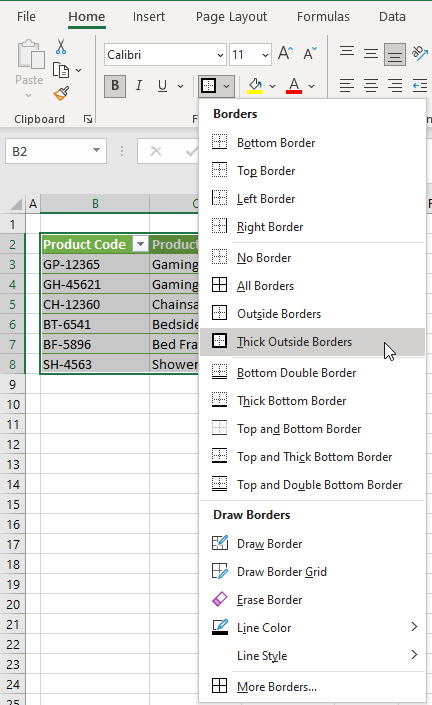
- Select the entire table by selecting cell B2, holding down the left mouse button, and dragging to cell D8.

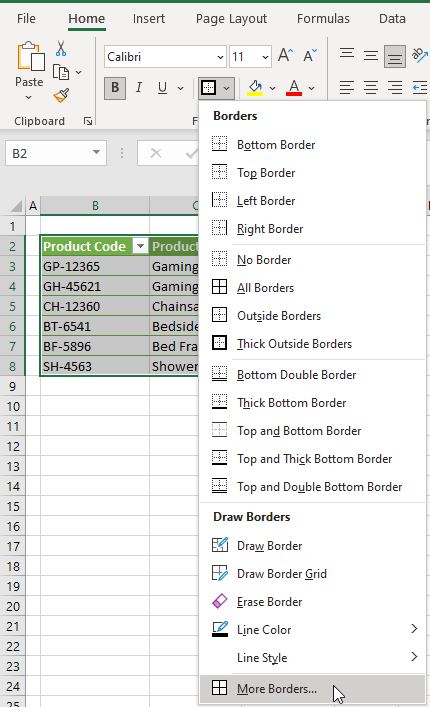
- Click Home >> Font >> Borders >> Thick Outside Borders.
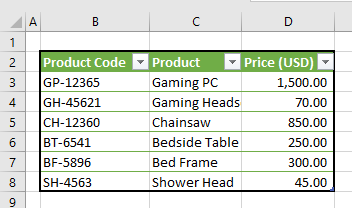
The border is applied to the table as shown below:
Method 2: Use the Border Drop-down List on the Mini Toolbar
Suppose we have the following table showing some products and their prices.

We want to apply a thick outline border to the table using the Borders drop-down list on the Mini toolbar.
We use the following steps:
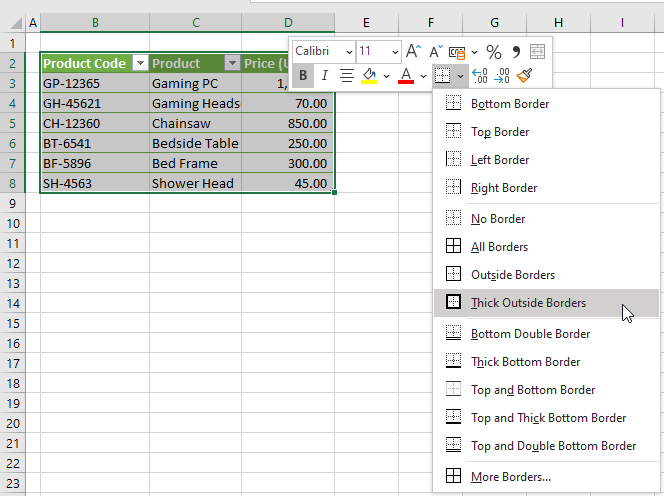
- Select the entire table by selecting cell B2, holding down the left mouse button, and dragging to cell D8.

- Right-click the selected table, open the Borders drop-down list on the Mini toolbar and select Thick Outside Borders.
The outline border is applied to the dataset as shown below:

Method 3: Use the Format Cells Dialog Box
The following table shows some products and their prices.

We want to apply a thick outline border to the table using the Format Cells dialog box.
We use the steps below:
- Select the entire table by selecting cell A1, holding down the left mouse button, and dragging to cell C7.

- Open the Format Cells dialog box using any of the following ways:
Press Ctrl + 1.
Or
Click Home >> Font >> Borders > More Borders.
Or
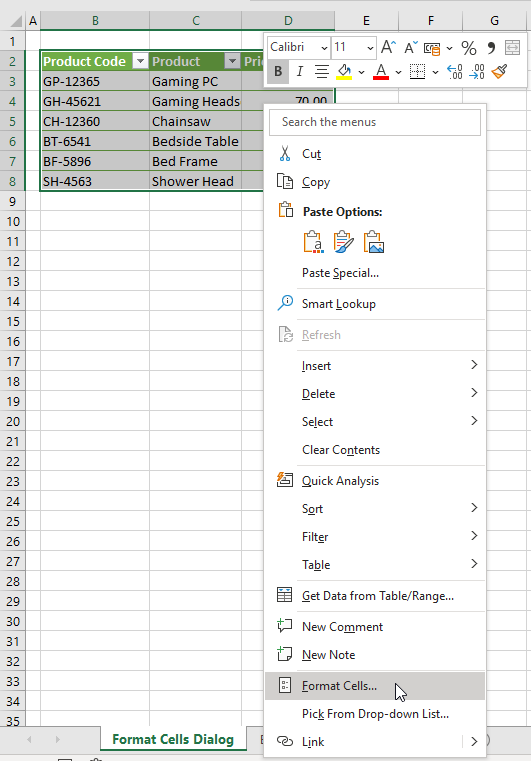
Right-click the selected table and select Format Cells on the shortcut menu that appears.
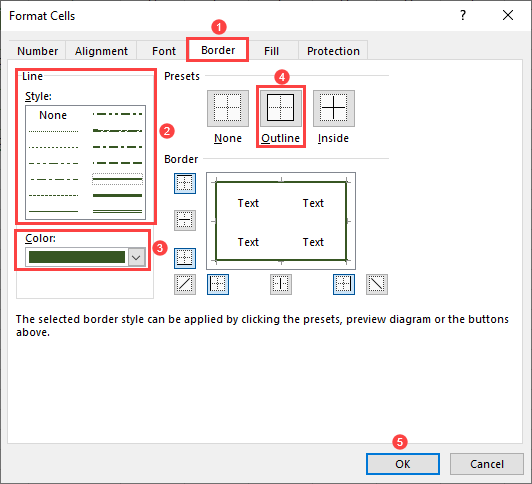
- In the Border tab of the Format Cells dialog box, select a line style of the border in the Line Style box, select a color of the border in the Color drop-down list, select Outline under Presets, and click OK.
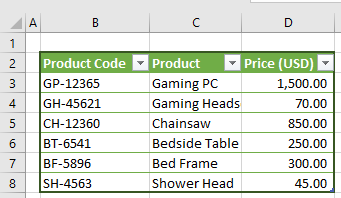
An outline border is applied to the table as shown below:
Method 4: Manually Draw the Outline Border
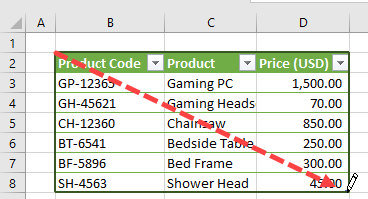
We have the following table showing some products and their prices.

We want to manually draw a thick outline border around the table.
We use the steps below:
- Click Home >> Font >> Borders >> Draw Border.
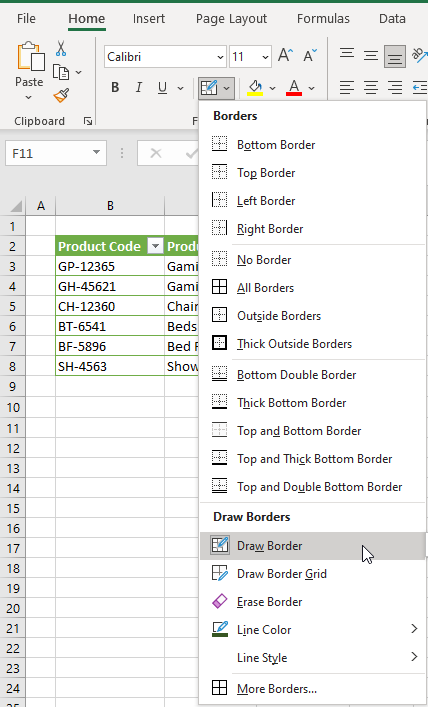
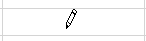
Note: In the worksheet, the mouse pointer changes to a pencil icon as shown below:
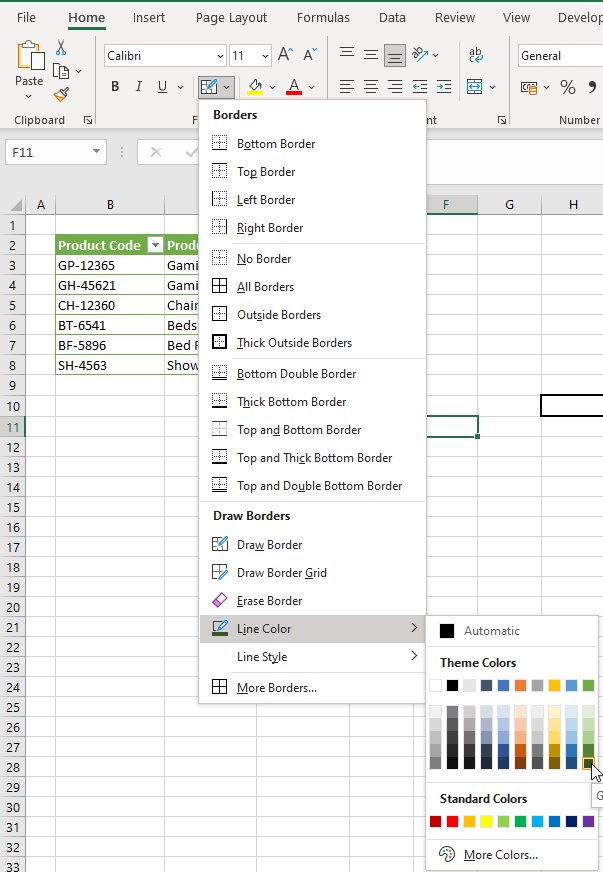
- Open the Borders drop-down list in the Font group of the Home tab and on the Line Color flyout menu, choose a color from Theme Colors, Standard Colors, or More Colors.
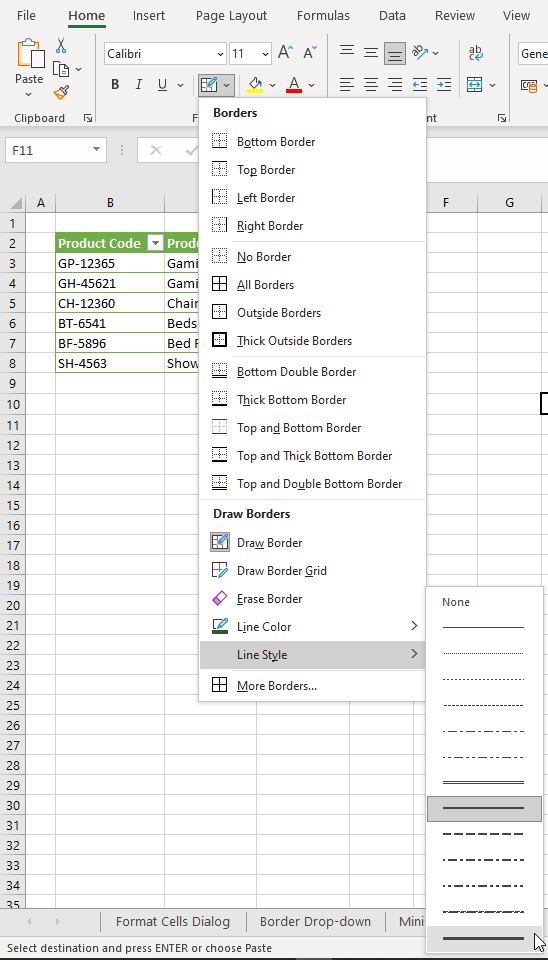
- Open the Borders drop-down list in the Font group on the Home tab and select a line style from the Line Style flyout menu.
- Drag the pencil icon down diagonally from the top left corner to the bottom right corner of the dataset, to draw a thick border around the table
Note: Press the Escape key to come out of the drawing mode. The pencil icon changes to the normal cross icon.
How to Remove a Table Border in Excel
You can remove the table border if you no longer need it or you want to change it.
We use the following steps to remove a table border:
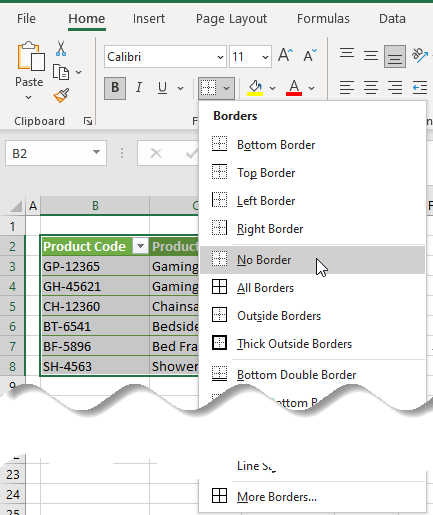
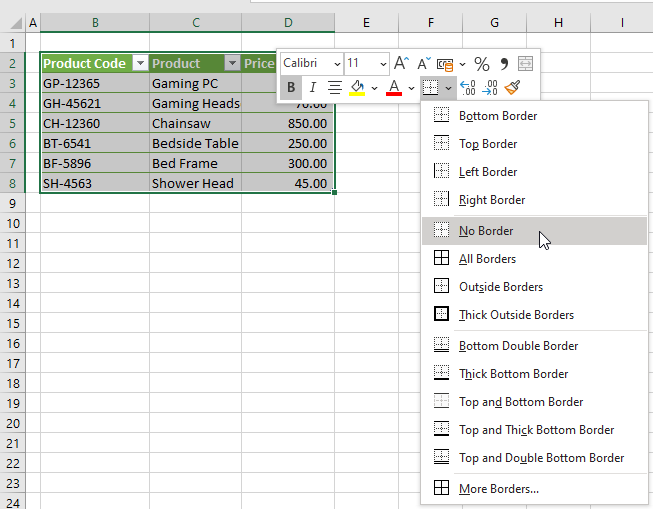
- Select the table with a border.

- Remove the border using any of the following ways:
Click Home >> Font >> Borders >> No Border.
Or
Right-click the selected table, open the Borders drop-down list on the Mini toolbar and select No Border.
Or
Press Ctrl + 1 to open the Format Cells dialog box. In the Border tab, select None under Presets and click OK.

The border is removed from the table as shown below:

Conclusion
Borders make a table stand out and appealing. This tutorial has looked at various techniques for applying or removing a table border in Excel.