In Excel, Tooltips are the small windows with information that pop up when you select or point to cells.
When you create an Excel file for someone else to use, you can guide them by adding notes and reminders to cells in a form of Tooltips. The Tooltips can also be used to explain a formula in a cell.
Excel offers two kinds of Tooltips; the one that appears when you select a cell and the other that pops up when you point to a cell.
In this tutorial, we will show how to add and display the two kinds of Tooltips.
Method 1 – Add and Display Tooltips that appear when cells are selected
The Data Validation dialog box in Excel can be employed to add an informative Tooltip to any cell in the worksheet. This can be achieved by doing the following steps:
Step 1 – Select the cell to which you want to attach a ToolTip, press the keyboard shortcut Alt + D, followed by L. Alternatively, the Data Validation dialog box can also be opened by going to Data >> Data Tools >> Data Validation on the Ribbon:

The Data Validation dialog box will pop up:
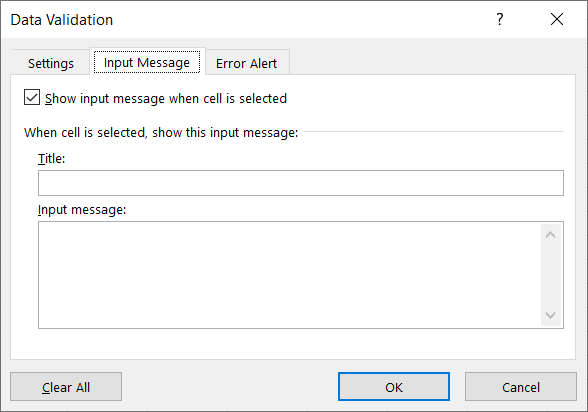
Step 2 – Click the Input Message tab. Put a checkmark in the checkbox next to “Show input message when a cell is selected.” This box is generally checked by default but sometimes it may have been unchecked by another user.
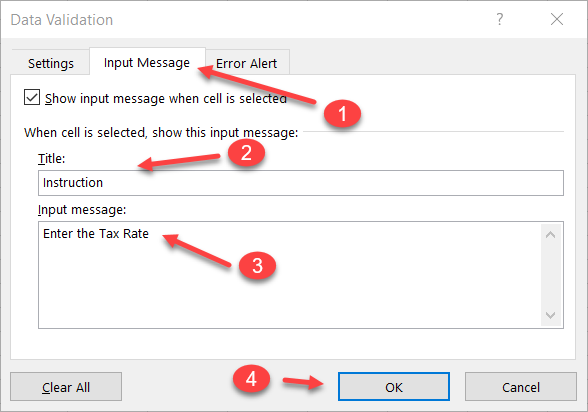
If you want your Tooltip to have a title enter the title you want in the Title area. Although adding a Title is optional, adding it will make your Tooltip more informative giving the person working with the Excel file a better user experience.
Enter the message you want your Tooltip to display in the “Input message” box and then click OK.
The Tooltip will be displayed when one selects the cell it is attached to:
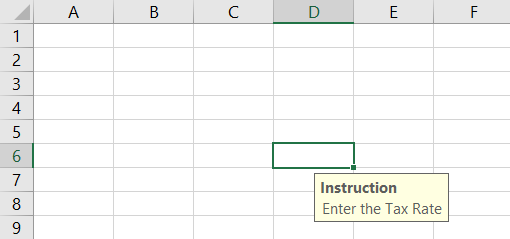
This kind of Tooltip makes your worksheet look clean because it does not add red triangles to the cells.
Method 2 – Add and Display Tooltips that appear when cells are pointed to
This method attaches Tooltips to cells in form of comments. You can do the following steps to achieve this.
Step 1 – Select the Cell to which you want to add a Tooltip.
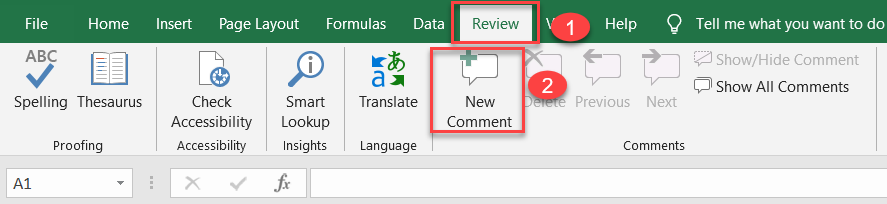
Step 2 – On the Ribbon Go to Review>>Comments>>New Comment:
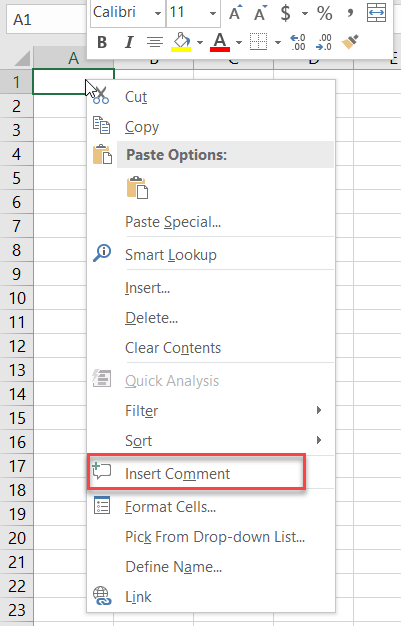
Alternatively, you can right-click the cell to which you want to add a Tooltip, and click the Insert Comment command:
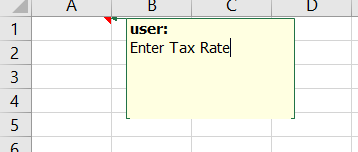
Step 3 – Enter the Tooltip message in the box that appears next to the selected cell. Like in the example below:
Step 4 – Click outside the box to save the Tooltip.
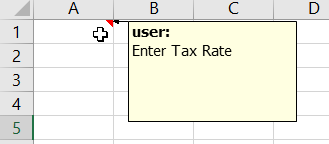
Step 5 – Test the Tooltip by pointing to the relevant cell:
If you have Tooltips already enabled in your worksheet and you want the Tooltips always displayed you can go to Review >> Comments >> Show All Comments on the Ribbon:
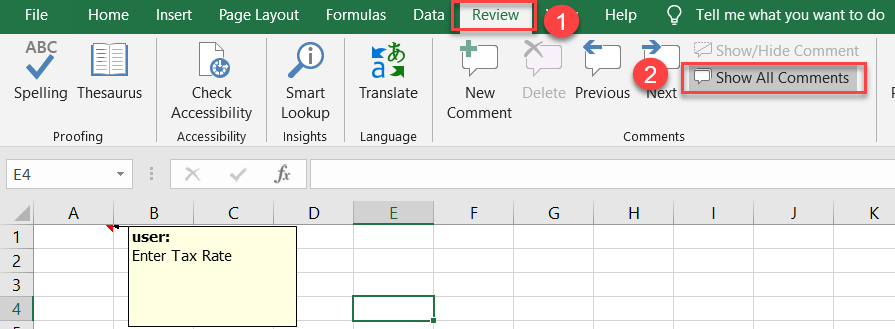
To turn off the comments click on the Show All Comments again.
Additional Information
The first method of adding Tooltips using the Data Validation dialog box may be preferred by many over the second method of adding cell comments because it has the advantage of not littering the worksheet with small red triangles.